Email: info@africantraces.com
/ Call us : +255755750247


7 DAY SHIRA ROUTE TREK

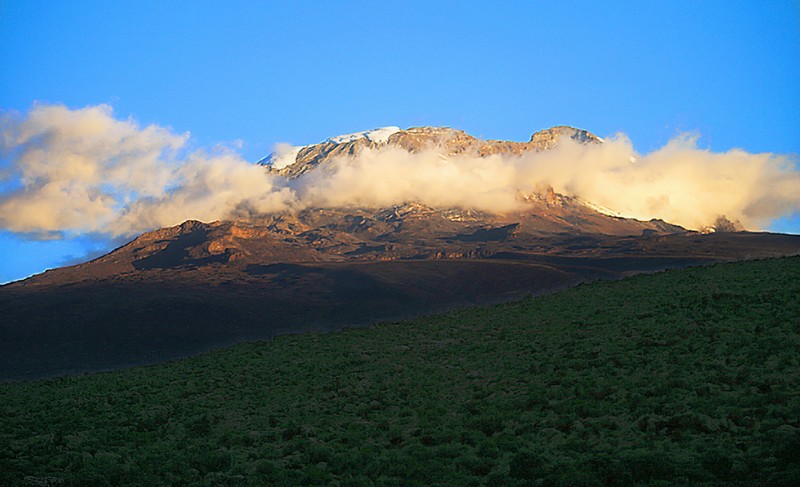
An extended western approach across the high Shira Plateau with enhanced acclimatization, traversing the Southern Circuit before summiting Uhuru Peak.
Duration: 7 Days | Difficulty: Moderate to High


7 day Shira Trek

📌 Shira Route 7-Day Trekking Overview

The 7-Day Shira Route offers an extra day for acclimatization compared to the 6-day itinerary. By starting at Shira 1 Camp before advancing to Shira 2, trekkers spend more time exploring the vast plateau at a manageable pace. The route then joins the scenic Southern Circuit via Lava Tower, Barranco Wall, and Karanga Valley before making the ultimate summit push to Uhuru Peak and descending via Mweka Gate.

Route Summary

Approach: West via Londorossi Gate & Simons Gate, descending south via Mweka Gate.
Highlights: Shira Plateau, Shira 1 & 2 Camps, Cathedral Point, Lava Tower, Barranco Wall, Karanga Valley, Uhuru Peak.
Unique Feature: Rapid initial elevation gain by vehicle, followed by superior horizontal acclimatization on the open plateau.
Acclimatization: High (The additional day significantly improves summit success rates).
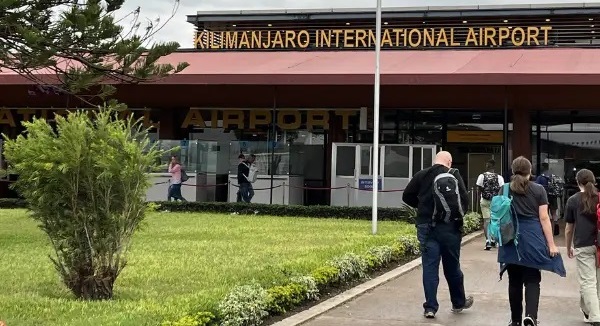
Arrival: Direct transfer from Kilimanjaro International Airport (JRO) to Moshi for briefing and gear checks.
Detailed Trekking Itinerary

Detailed Day-by-Day Itinerary


Arrival Day
Arrival Day
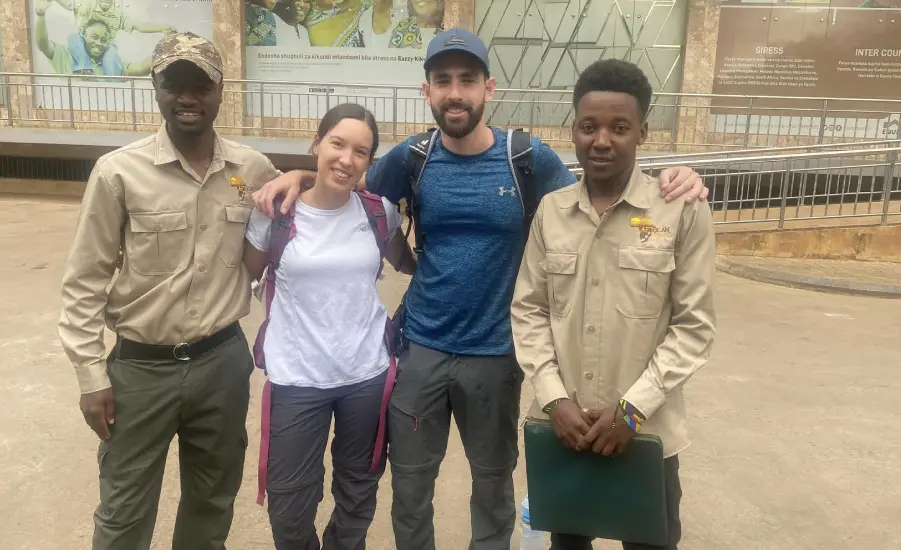
Arrive at Kilimanjaro International Airport (JRO) where your African Traces team meets and transfers you to your hotel in Moshi. Meet your head guide for a detailed briefing, health check, and gear assessment before starting your expedition.
Meals: No Meals Included.
Drive to Simons Gate to Shira 1 Camp
Day 1: Moshi to Londorossi Gate / Simons Gate – Trek to Shira 1 Camp
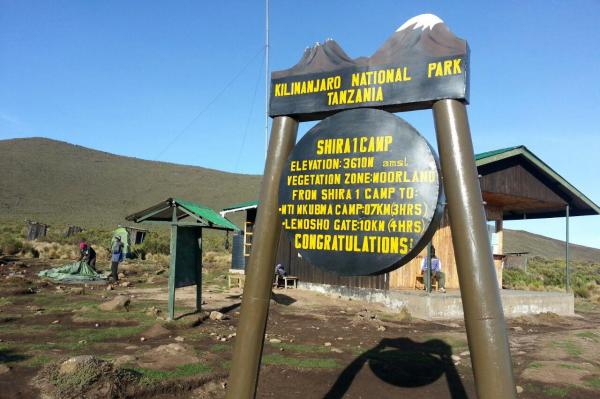
Distance: 4 km / 2.5 mi | Trekking Time: 2–3 hours | Elevation: Simons Gate (3,500 m) → Shira 1 Camp (3,610 m / 11,843 ft)
Drive from Moshi to Londorossi Gate for park registration, then continue up the mountain road to Simons Gate. Hike through the gentle moorlands to Shira 1 Camp, located on the edge of the scenic Shira Plateau.
Meals: Breakfast, Lunch & Dinner
Trekking Tip:
● Maintain a steady "Pole Pole" (slow) pace due to starting at high elevation.
● Drink plenty of water throughout the afternoon to help your body adapt.
● Keep warm layers easily accessible as evening mountain breezes lower temperatures quickly.
Shira 1 Camp to Shira 2 Camp
Day 2: Shira 1 Camp to Shira 2 Camp
Distance: 7 km / 4.3 mi | Trekking Time: 4–5 hours | Elevation: Shira 1 Camp (3,610 m) → Shira 2 Camp (3,850 m / 12,630 ft)
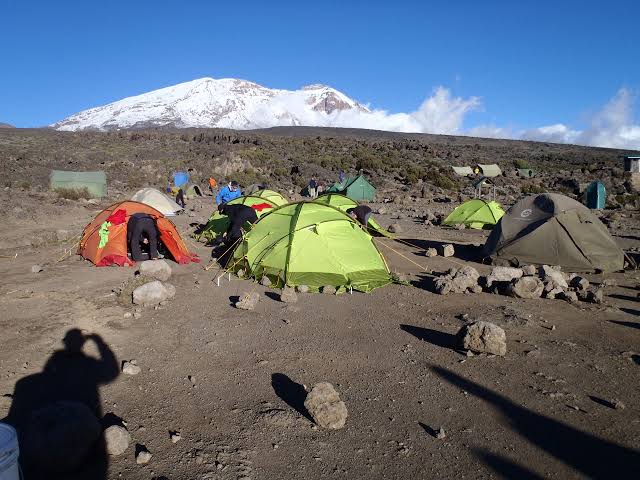
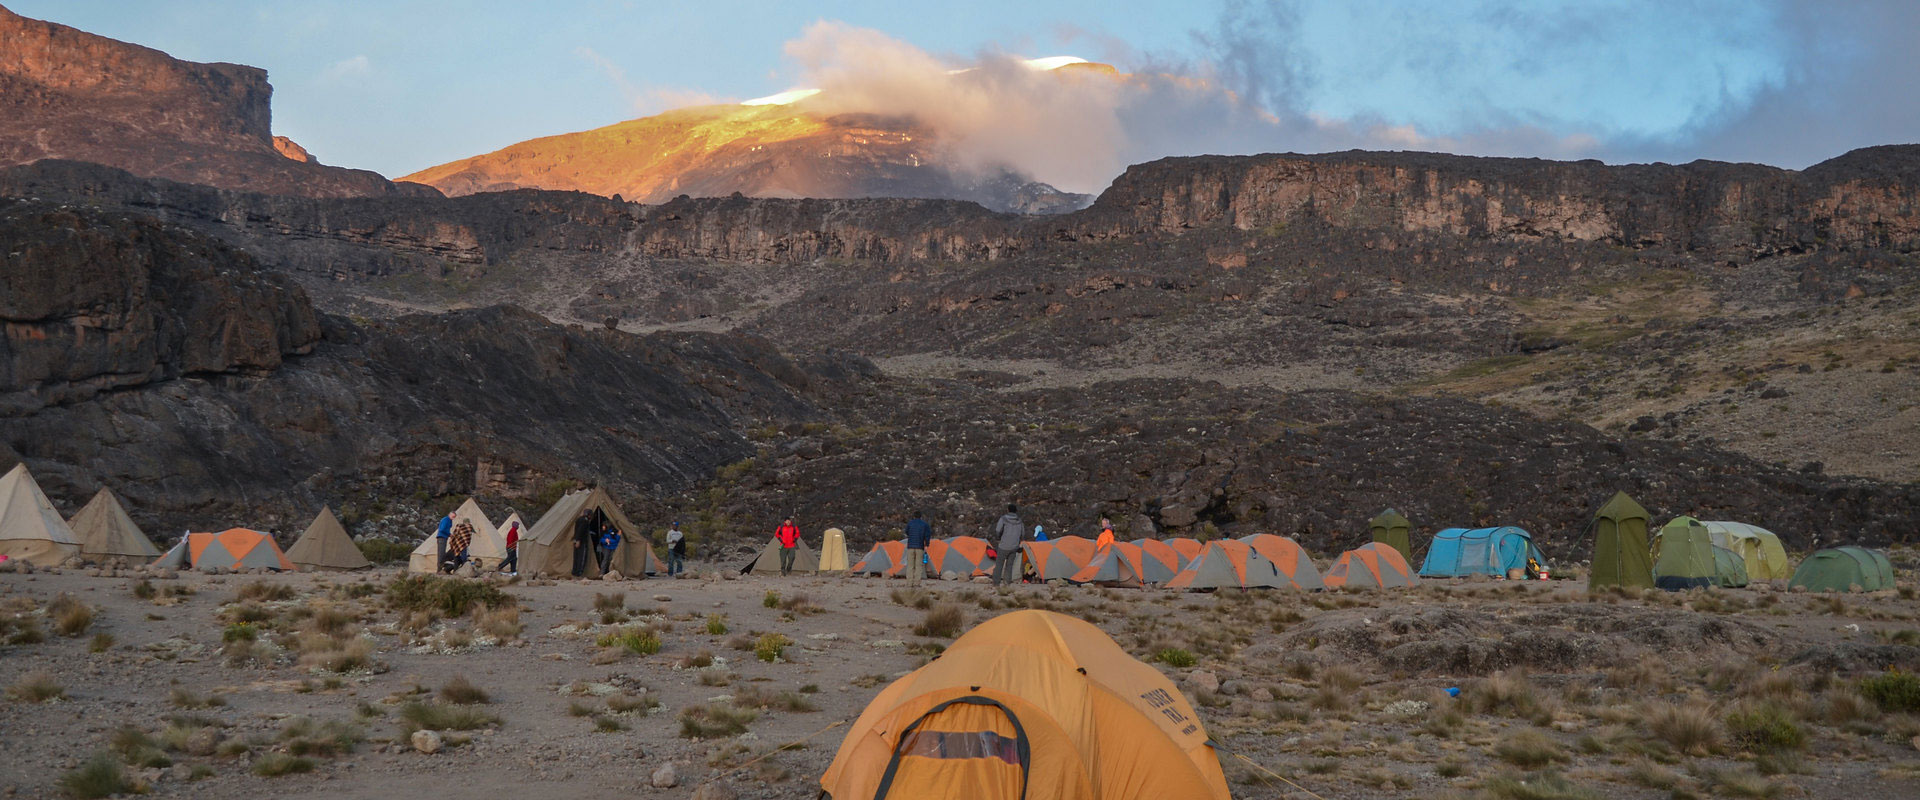
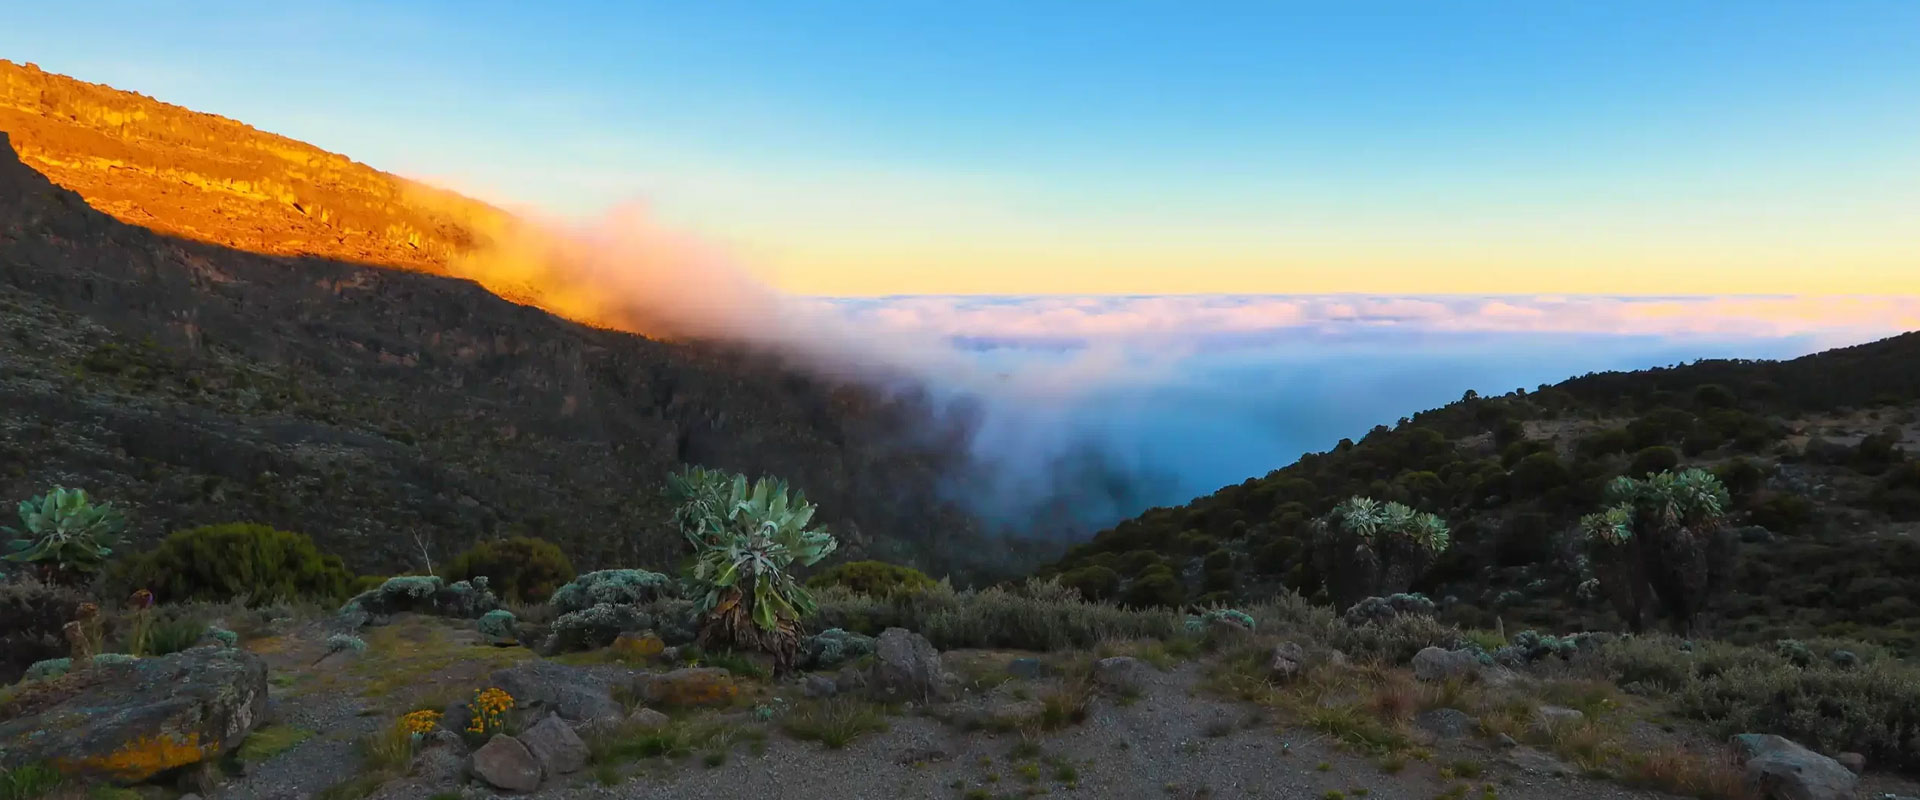
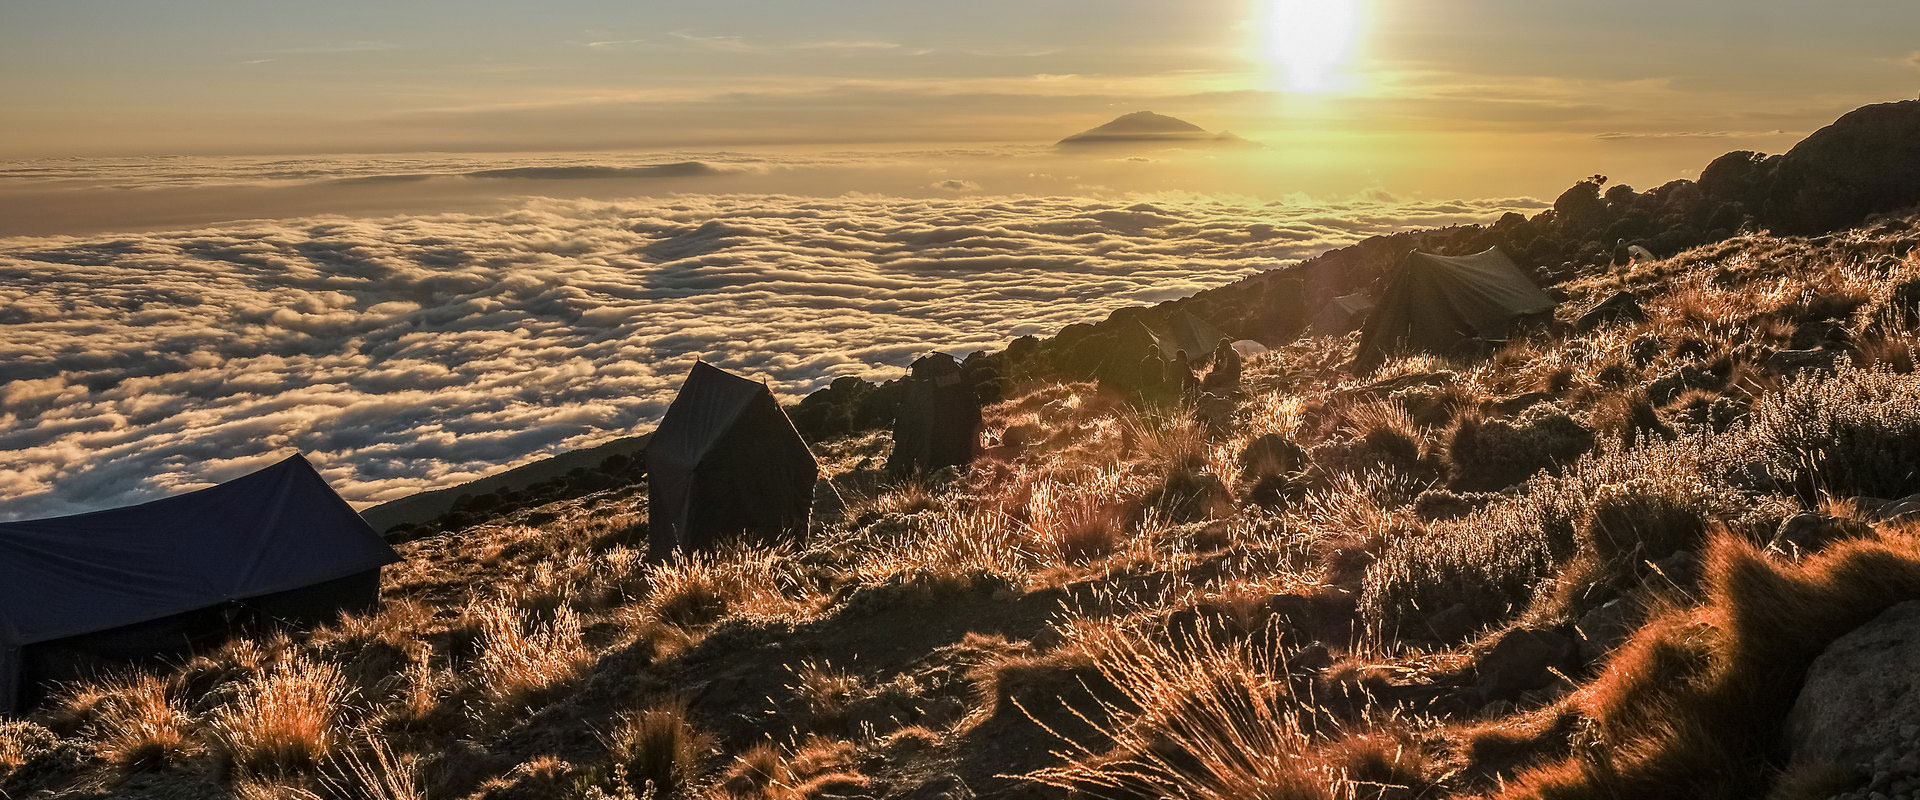
Enjoy a gentle trek across the vast expanse of the Shira Plateau. You will pass Cathedral Peak and explore the high alpine moorland terrain before arriving at Shira 2 Camp with magnificent views of Kibo Peak.
Meals: Breakfast, Lunch & Dinner
Shira 2 Camp to Lava Tower to Barranco Camp
Day 3: Shira 2 Camp to Lava Tower → Descend to Barranco Camp
Distance: 10 km / 6.2 mi | Trekking Time: 6–7 hours | Elevation: Shira 2 Camp (3,850 m) → Lava Tower (4,630 m) → Barranco Camp (3,960 m / 12,992 ft)
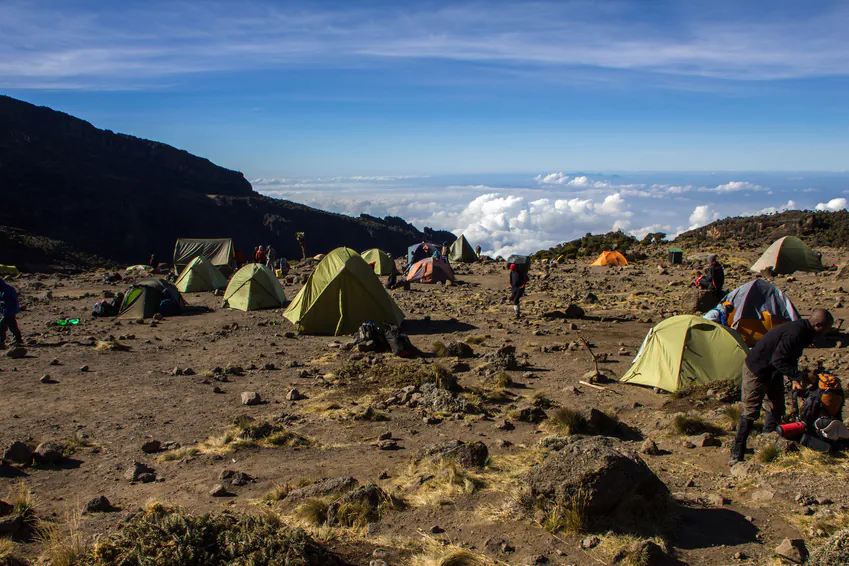
Ascend eastward into high desert terrain toward Lava Tower (4,630 m) for lunch and key altitude adaptation ("Climb High, Sleep Low"). Afterward, descend into the lush Barranco Valley to rest at Barranco Camp.
Meals: Breakfast, Lunch & Dinner
Barranco Camp to Karanga Camp
Day 4: Barranco Camp to Karanga Camp
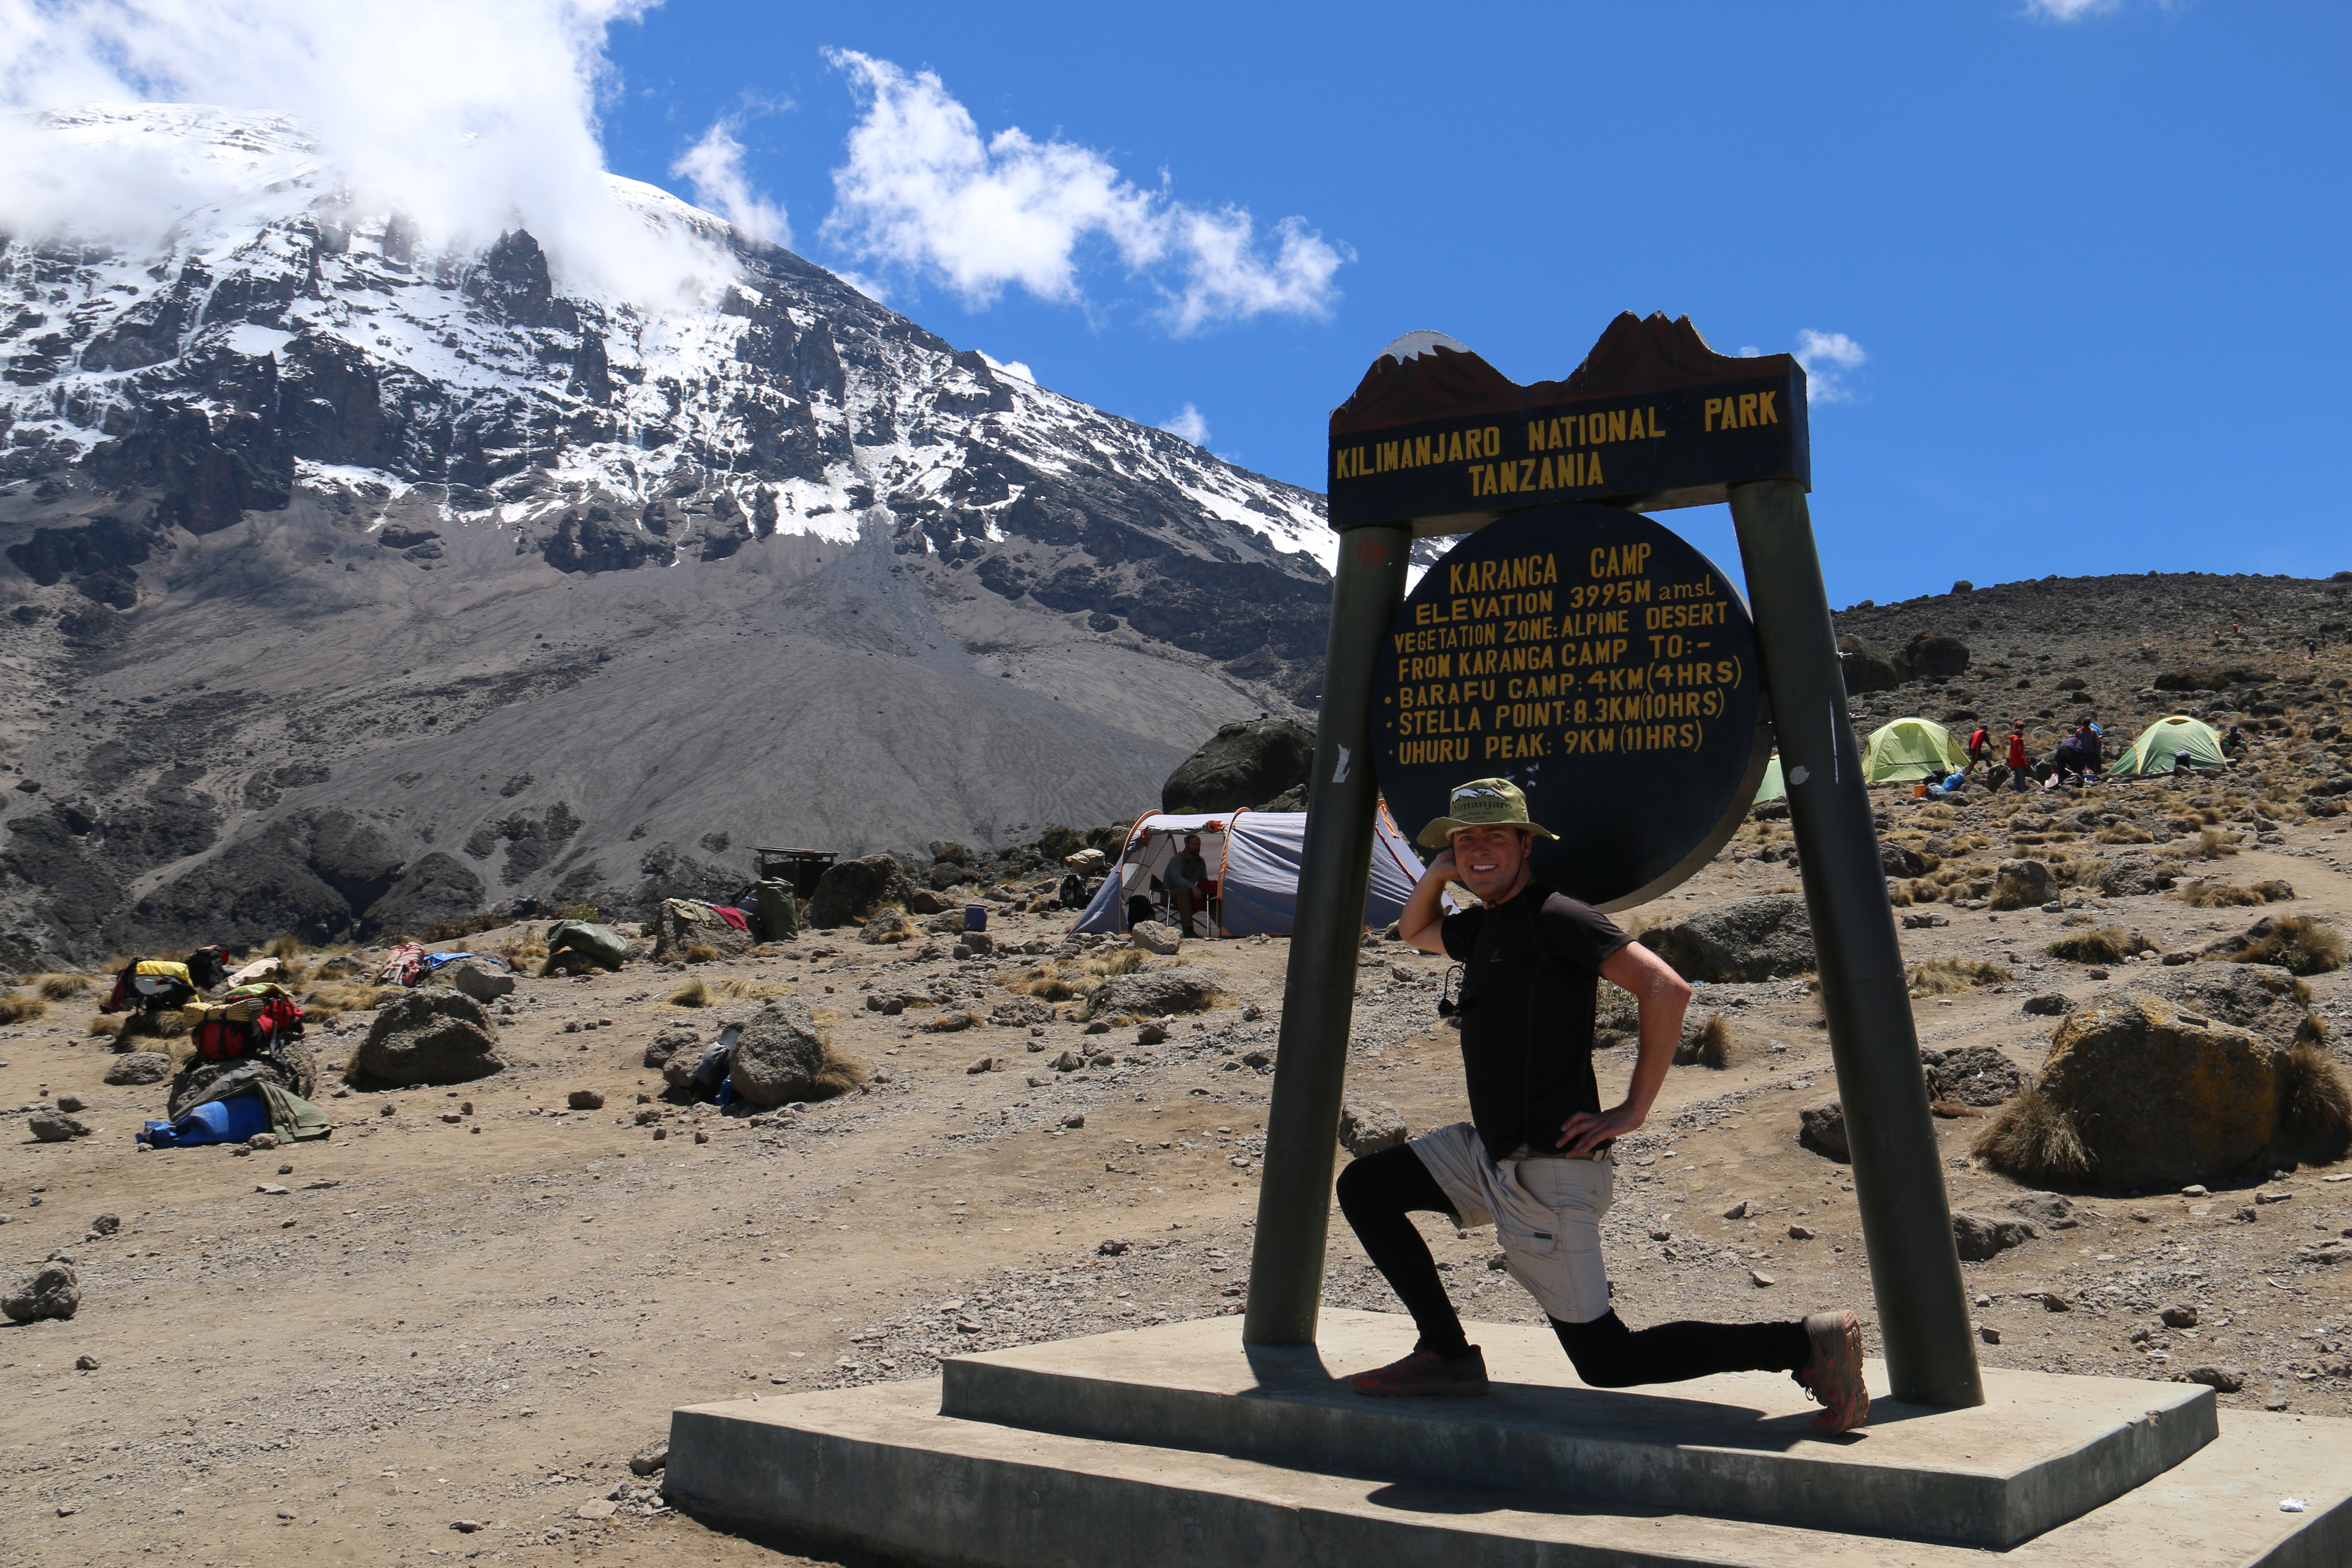
Distance: 5 km / 3.1 mi | Trekking Time: 4–5 hours | Elevation: Barranco Camp (3,960 m) → Karanga Camp (3,995 m / 13,106 ft)
Begin with an exciting climb up the Barranco Wall, enjoying panoramic views from the ridge top. Cross a series of hills and valleys down into Karanga Valley before reaching Karanga Camp for an afternoon rest.
Meals: Breakfast, Lunch & Dinner
Karanga Camp to Barafu Camp
Day 5: Karanga Camp to Barafu High Camp
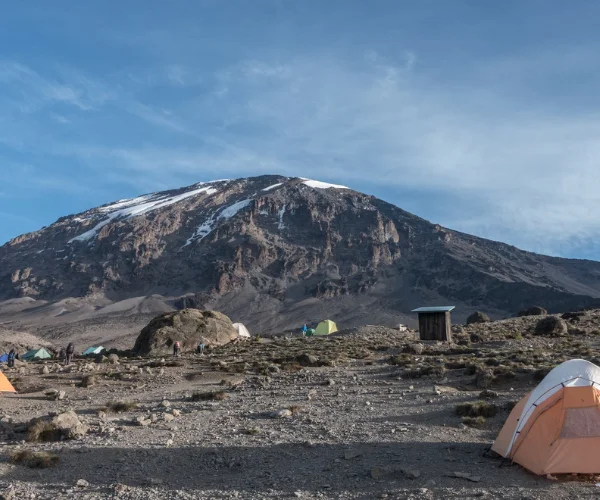
Distance: 4 km / 2.5 mi | Trekking Time: 3–4 hours | Elevation: Karanga Camp (3,995 m) → Barafu Camp (4,673 m / 15,331 ft)
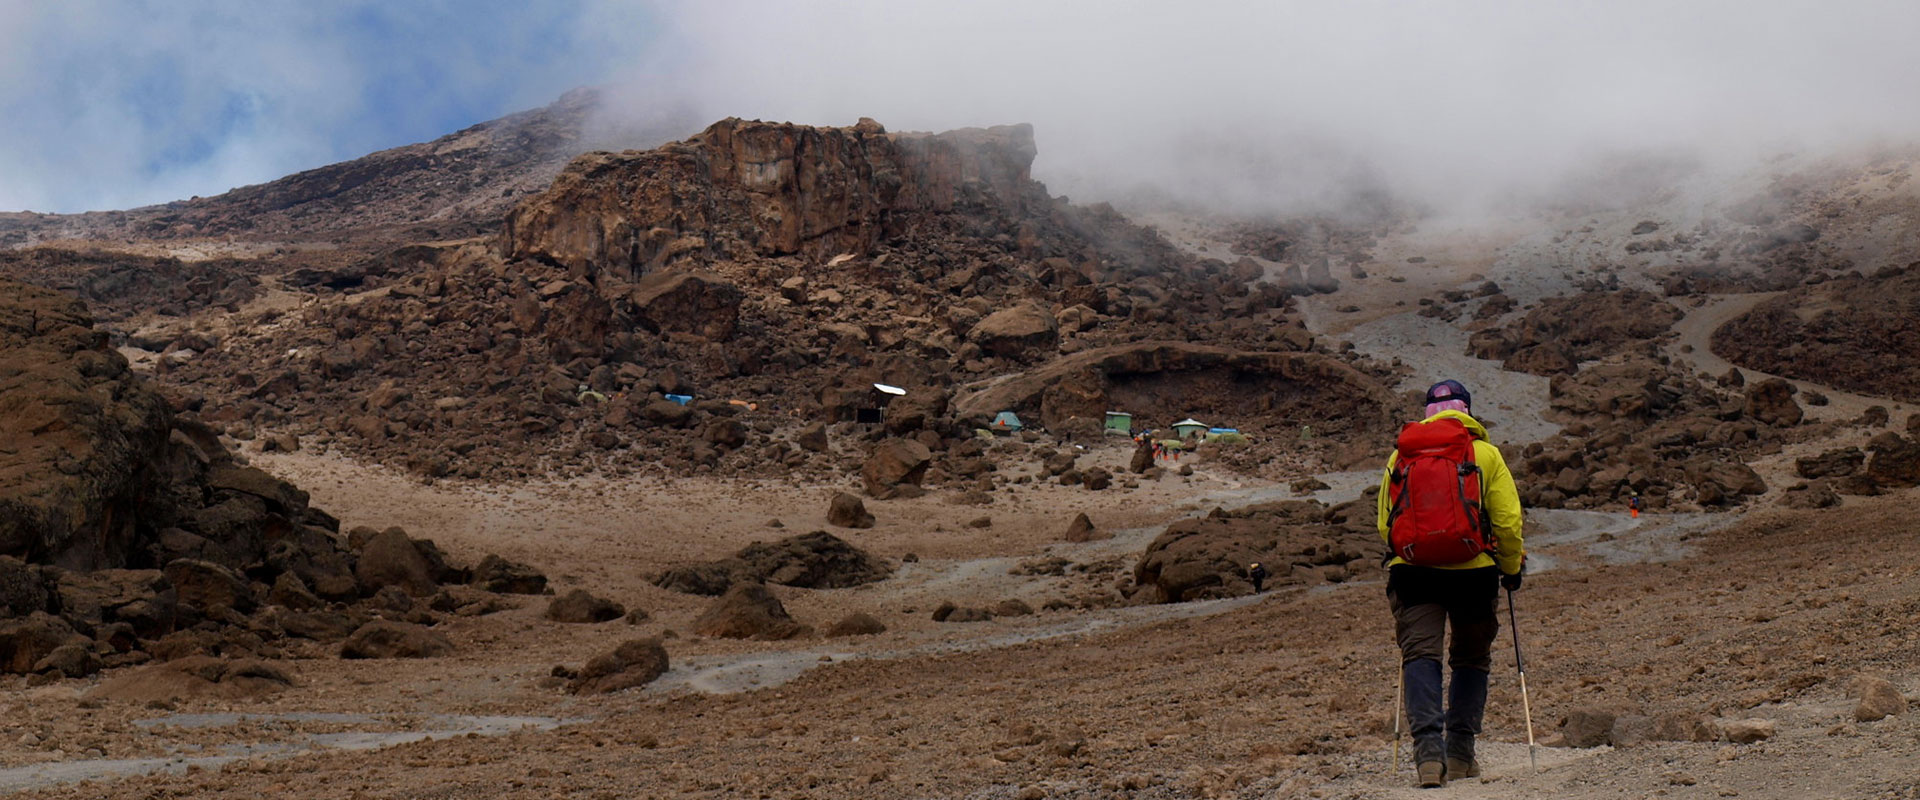
Trek up barren desert ridges toward Barafu Camp. Arrive in the early afternoon to prepare summit gear, enjoy an early dinner, and rest before starting the midnight summit ascent.
Meals: Breakfast, Lunch & Dinner
Summit Push to Uhuru Peak and Descend to Mweka
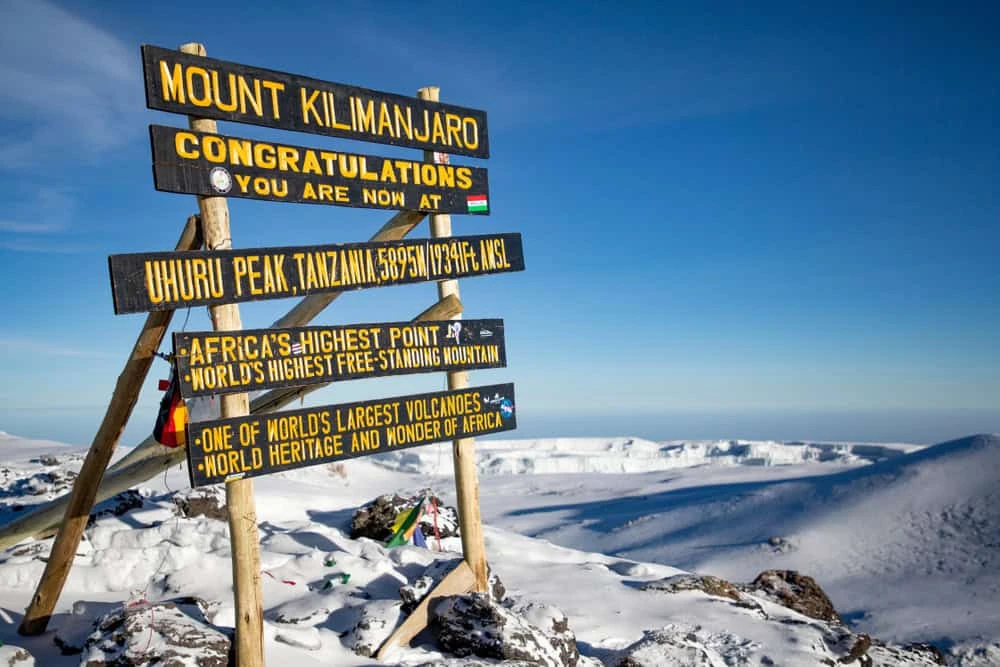
Day 6: Barafu Camp to Uhuru Peak (5,895 m) → Descend to Mweka Camp
Distance: 5 km ascent / 12 km descent | Trekking Time: 11–13 hours total | Elevation: Barafu Camp (4,673 m) → Uhuru Peak (5,895 m) → Mweka Camp (3,100 m)
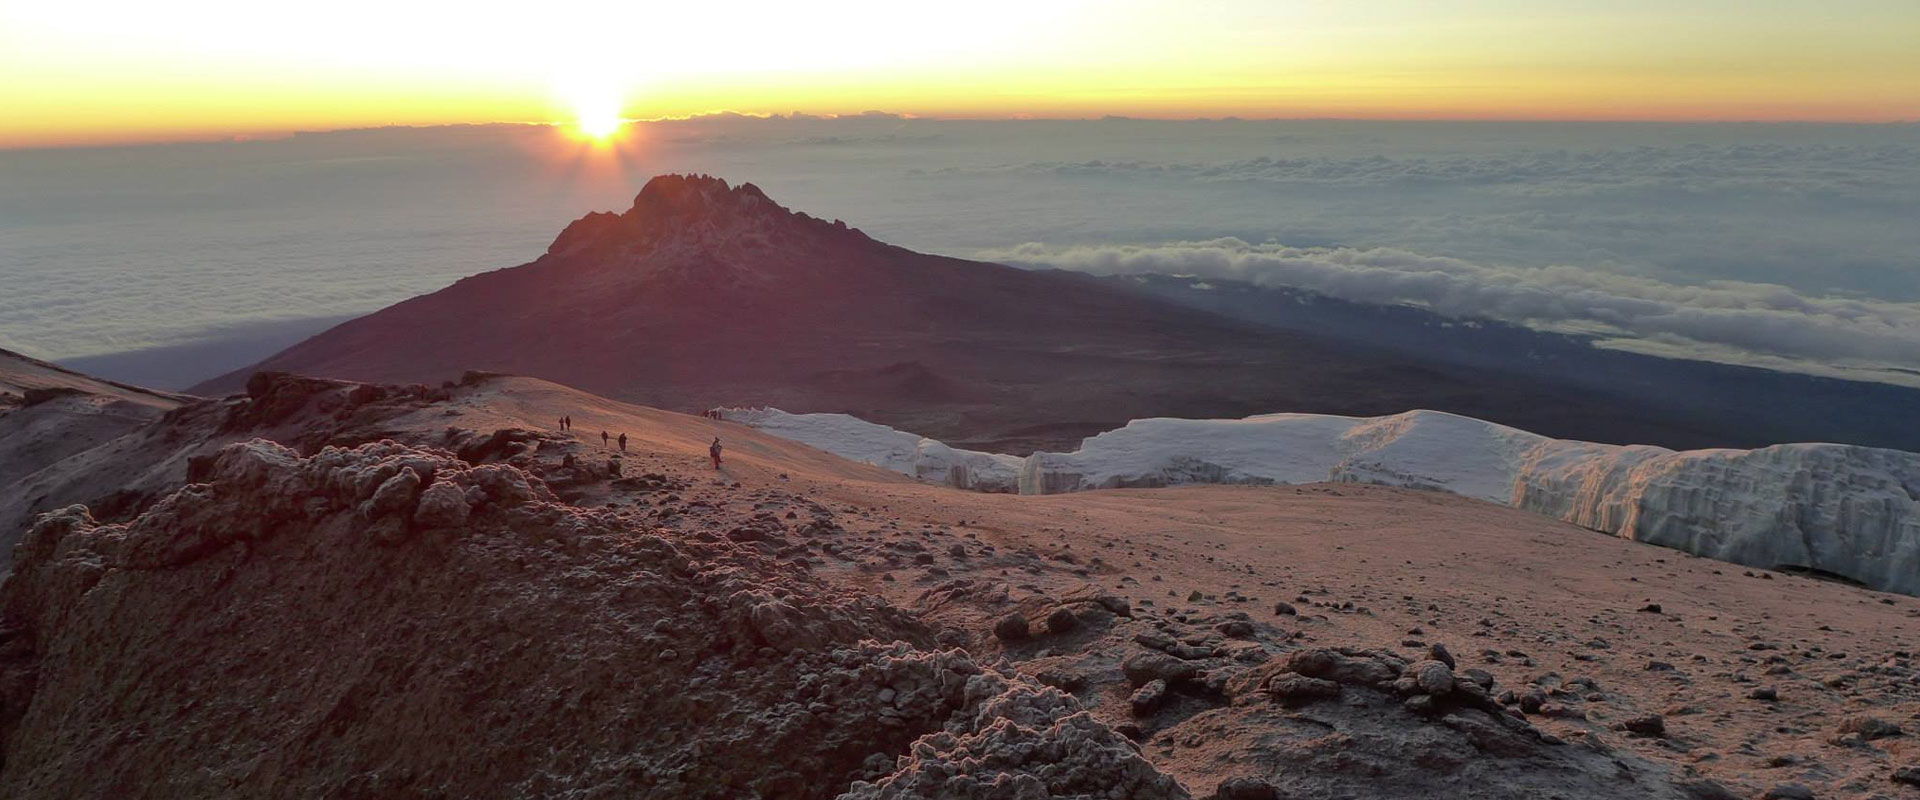
Begin your summit climb around midnight, hiking up steep scree to Stella Point (5,756 m) and on to Uhuru Peak at sunrise. After celebrating on the peak, descend back to Barafu for rest before continuing to Mweka Camp.
Meals: Breakfast, Lunch & Dinner
Mweka Camp to Mweka Gate to Moshi
Day 7: Mweka Camp to Mweka Gate → Transfer to Moshi
Distance: 10 km / 6.2 mi | Trekking Time: 3–4 hours | Elevation: Mweka Camp (3,100 m) → Mweka Gate (1,640 m)
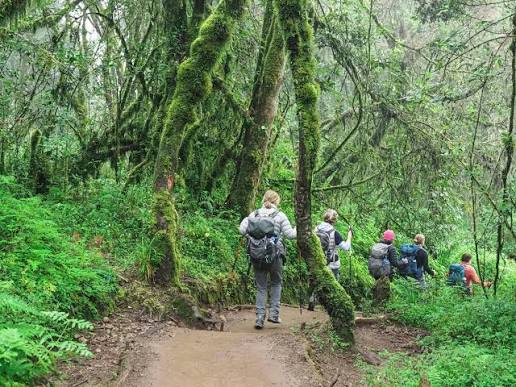
Descend through the tropical rainforest to Mweka Gate. Collect your summit certificates, celebrate with your mountain crew, and transfer back to your hotel in Moshi.
Meals: Breakfast & Lunch
Departure Day
Day 8: Departure / Onward Journey
Transfer to Kilimanjaro International Airport (JRO) for your flight home, or start your safari / Zanzibar beach extension.
Meals: Breakfast Included

Short Summary


Day 1: Drive to Simons Gate – Trek to Shira 1 Camp
Distance: 4 km / 2.5 mi | Trekking Time: 2–3 hours | Elevation: Simons Gate (3,500 m) → Shira 1 Camp (3,610 m)
Day 2: Shira 1 Camp to Shira 2 Camp
Distance: 7 km / 4.3 mi | Trekking Time: 4–5 hours | Elevation: Shira 1 Camp (3,610 m) → Shira 2 Camp (3,850 m)
Day 3: Shira 2 Camp to Lava Tower → Descend to Barranco Camp
Distance: 10 km / 6.2 mi | Trekking Time: 6–7 hours | High Point: Lava Tower (4,630 m) → Barranco Camp (3,960 m)
Day 4: Barranco Camp to Karanga Camp
Distance: 5 km / 3.1 mi | Trekking Time: 4–5 hours | Elevation: Barranco Camp (3,960 m) → Karanga Camp (3,995 m)
Day 5: Karanga Camp to Barafu High Camp
Distance: 4 km / 2.5 mi | Trekking Time: 3–4 hours | Elevation: Karanga Camp (3,995 m) → Barafu Camp (4,673 m)
Day 6: Summit Push to Uhuru Peak (5,895 m) → Descend to Mweka Camp
Distance: 17 km total | Trekking Time: 11–13 hours | High Point: Uhuru Peak (5,895 m) → Mweka Camp (3,100 m)
Day 7: Mweka Camp to Mweka Gate → Return to Moshi
Distance: 10 km / 6.2 mi | Trekking Time: 3–4 hours | Elevation: Mweka Camp (3,100 m) → Mweka Gate (1,640 m)
Day 8: Departure / Onward Journey
Airport transfer to JRO or departure for Safari / Zanzibar extensions.

What is Included

  • Kilimanjaro National Park entry fees, camping fees, and rescue fees
  • Professional, certified, English-speaking mountain guides
  • Dedicated support team of mountain porters and professional cook
  • All high-quality camping equipment (mountain tents, sleeping mats, mess tent, chairs)
  • 3 full fresh meals daily on the mountain (Breakfast, Lunch, Dinner)
  • Purified and boiled drinking water provided throughout the trek
  • Airport pick-up and drop-off transfers (JRO)
  • Round-trip ground transport from Moshi to the park gates
  • Pulse oximeter daily health checks & emergency oxygen tanks
  • Official Mount Kilimanjaro summit certificate

What is Excluded

  • International and domestic flights
  • Tanzania Entry Visa fees ($50 to $100 depending on nationality)
  • Personal trekking gear (sleeping bags, warm clothing, hiking boots, trekking poles)
  • Tips/gratuities for guides, porters, and cooks (recommended standard rate)
  • Travel & medical insurance (covering high-altitude trekking up to 6,000m)
  • Hotel accommodation in Moshi before and after the trek (can be arranged upon request)
  • Meals and drinks in Moshi town outside of the mountain trek
  • Personal expenses (laundry, soft drinks, alcohol, souvenirs)
  • Portable chemical toilet rental (available as an optional add-on)

Looking for a private 7-Day Shira Route Trek for your custom dates? Contact us. Our team is always here to help.

KILIMANJARO ROUTES

Kilimanjaro Lemosho Route View

Lemosho Route

Duration: 7–9 Days | Difficulty: Moderate to High

Explore Route
Machame Route Kilimanjaro

Machame Route ("Whiskey Route")

Duration: 6–7 Days | Difficulty: Challenging | Success Rate: High (~85%+)

Explore Route
Northern Circuit Kilimanjaro

Northern Circuit

Duration: 8–10 Days | Difficulty: Moderate | Success Rate: Highest (~98%)

Explore Route
Marangu Route Kilimanjaro

Marangu Route ("Coca-Cola Route")

Duration: 5–6 Days | Difficulty: Moderate | Success Rate: Moderate (~75–85%)

Explore Route
Rongai Route Kilimanjaro

Rongai Route

Duration: 6–7 Days | Difficulty: Moderate | Success Rate: High (~85–90%)

Explore Route
Shira Route Kilimanjaro

Shira Route

Duration: 6–8 Days | Difficulty: High | Success Rate: High (~85%)

Explore Route
Umbwe Route Kilimanjaro

Umbwe Route

Duration: 6–7 Days | Difficulty: Very High | Success Rate: Lower

Explore Route
KILIMANJARO INFORMATION
Kilimanjaro guide

KILIMANJARO TREKKING GUIDE

How to choose route, Best Time to Climb, Packing List , Price for Kilimanjaro....

Explore More
Tanzania Safari

Tanzania Safari

Explore Tanzania Safari
African Traces

Conquer the Roof of Africa with African Traces

Experience Mount Kilimanjaro with local experts who prioritize your safety, comfort, and summit success. From custom itinerary planning to high-acclimatization routes, African Traces guides you every step of the way to Uhuru Peak with unmatched Tanzanian hospitality.

Contact Us